How Much to Plasterboard a Room?
Last updated 4th June, 2025
Want to know more about drywall installation?
This article outlines all you need to know about plasterboarding. If you're wondering about drywall vs plasterboard, what type of plasterboard you need, then we've got you covered. We break down plasterboard prices, including supply and labour fees.
Continue reading for more information!
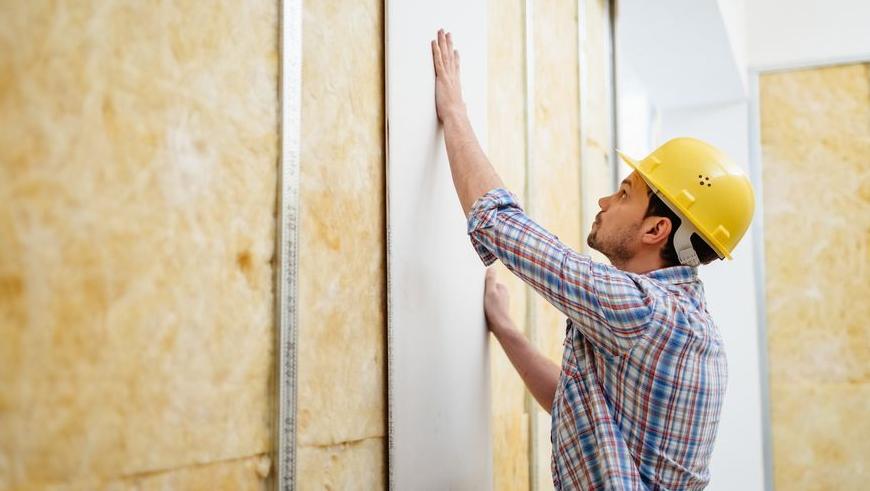
Table of Contents
- How much does it cost to plasterboard a room?
- What is drywalling a house?
- Additional drywalling costs
- Other trades you may need
- DIY vs professional drywalling
- Common drywalling installation problems
- Drywalling without plastering
- Negatives of drywalling without plastering
- Installing drywall over old walls
- Drywalling vs wet plastering
- FAQs
How Much Does it Cost to Plasterboard a Room?
The approximate cost of plasterboard is around £4 to 5 per panel, when using a good quality product. On this basis, to drywall a standard 12x12ft room it would cost around £550 in total (including parts and labour).
This price can fluctuate, depending on the quality of materials and the professional you hire for the plasterboarding and to install the drywall. It’s always a good idea to go with a professional that has accreditation and provides you with a comprehensive quote.
Plasterboard Installation Prices
Below are some estimated costs of hiring a professional plasterer to supply and drywall a home:
| Job Description | Avg. Cost | Duration |
|---|---|---|
| 6x12ft room with panels and drywalling | £250-£400 | 1-2 days |
| 12x12ft room with panels and drywalling | £500-£600 | 1-3 days |
| 12x24ft room with panels and drywalling | £1000-£1200 | 3-6 days |
Drywall Installation Cost Breakdown Calculator
Total cost of drywalling a 12x12ft room: £550
Materials
£330
Tradesmen
£165
Waste Removal
£55
What is Drywalling a House?
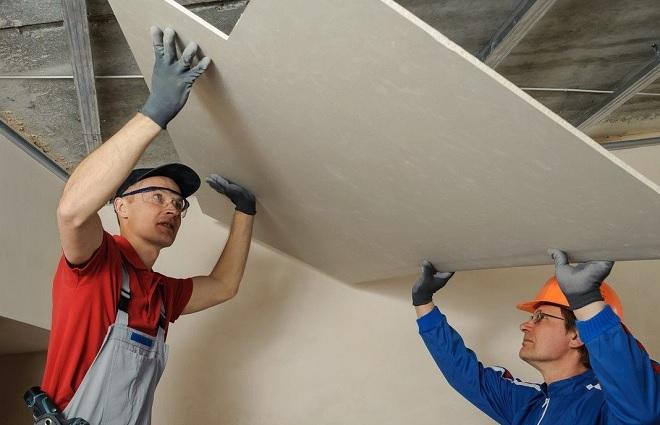
Drywall is a good alternative to traditional wet plaster. Also known as plasterboard, a drywall is hung directly onto ceiling joists or wall studs to create a flat surface covering that will be suitable for finishing with paint or wallpaper, no wet plastering is required.
After the application of the drywall sheets, the joints and screw holes are sealed with tape and joint compound. Once the compound has dried, all that's left to do is sanding down with fine sandpaper to ensure there are no lumps or obvious joins.
The actual sheets usually come in panels that are 4 x 8-foot, weighing between 20kg and 35kg each. They need to be handled with particular care when being transported and installed to avoid damage, and unless you have previous experience it is highly recommended that you hire a tradesman when planning on drywalling a house.
Additional Drywalling Costs
When looking to drywall a house it's not just the cost of plasterboard you need to consider, but also other aspects such as if the room requires soundproofing or insulating.
Below we take a look at the cost of special features and optional ad-ons for your plasterboard, firstly in a summary table and then each one individually.
| Feature | Average Cost |
|---|---|
| Moisture-Resistant Plasterboard | £7–£12 per m² |
| Fire-Resistant Plasterboard | £6–£10 per m² |
| Soundproofing Drywall | £30–£50 per panel + £200–£500 installation |
| Acoustic Panels | £25–£60 per panel + £200–£600 installation |
| Drywall Insulation | £10–£20 per m² |
| Veneer Plastering / Skim Coating | £3–£8 per m² |
| Drywall Finishing (Basic) | £1–£3 per m² |
| Drywall Finishing (Standard) | £3–£6 per m² |
| Drywall Finishing (Premium) | £10–£12 per m² |
Moisture or Fire-Resistant Plasterboard
This is often in regards to drywalling a kitchen, bathroom or any other room that automatically attracts damp such as a garage. Fire-resistant plasterboard is available for £6 to £10 a square meter, with moisture-resistant not that much more expensive at £7 to £12 per square meter.
Soundproofing Drywall
This could potentially increase costs significantly, as it requires a specialized drywall at an average cost of £30-£50 per panel. Installation costs may also rise by £200-£500, depending on the size and shape of the room, as well as the experience from whoever you are hiring to do the work.
Acoustic Panels
In conjunction with or as an alternative to soundproofing, adding acoustic panels can help. Although this comes at a cost: £25-£60 per panel and can soon create an installation cost of £200 to £600 for a standard-sized room.
Drywall Insulation
Adding insulation behind the drywall can increase the overall cost, but will also improve thermal efficiency. Fibreglass or foam boards will cost around £10 to £20 per square meter.
Veneer Plastering
Averaging at around £3 to £8 per square meter for skim coating or veneer plastering, this process allows for smoother finish suitable for a better paint finish.
Drywall Finishing
There are a variety of finishes available for your drywall, which involve taping, "mudding" and "sanding". They are normally split into 3 different levels (basic, standard and premium) with premium often including multiple coats:
- Basic: £1-£3 per square meter
- Standard: £3-£6 per square meter
- Premium: £10-£12 per square meter
Other Trades You May Need
Once the drywall has been installed, the joins have been sanded down, it will be ready for painting or to wallpaper. It would be a good idea to hire a professional painter and decorator. Rolling some paint on the walls sounds like an easy task, but there are professional painters out there for a reason!
Professionals paint trim on a daily basis so they have the skills to get crisp straight lines. They also know how to paint the big areas so they aren’t patchy or blotchy. After your investment in installing drywall in your home, it would warrant getting an experienced decorator to finish the job properly.
DIY vs Professional Drywalling
If you are considering drywalling a couse yourself, you shouldn’t need planning permission unless your in a listed property. However, larger jobs or if you're not fully confident plasterboarding yourself, then call in the professionals.
In order to go DIY, you don’t much in the way of tools and materials:
Tools Needed:
- Bucket
- Mud pan
- Sanding block
- Drill
- Taping knife
- Utility knife
Materials Needed:
- Drywall compound
- Metal corner bead
- Drywall screws
- Paper drywall tape
- Fine sandpaper
- Setting-type compound
You should also prepare yourself with some priceless advice from people that have already made the mistakes. Below are some great tips:
- Make customised batches of filler, thinner batches for hand taping and thicker for final coats.
- Mix your filler with a potato masher to get out the bubbles of air
- Prefill gaps from top to bottom with setting compound
- Cut a “V groove” down each join, then fill the “V” with setting-type joint compound before you cover the seam with joint compound and tape. This will really help out with the toughest taping challenge - butt joints.
- Dampen the drywall tape; Wetting the tape before you embed it in the joint compound can help eliminate troublesome bubbles that show up after the joint dries.
DIY Drywalling
Pros
- ✔ Lower cost – you save on labour charges
- ✔ Flexible schedule – work at your own pace
- ✔ Learning experience – gain valuable skills for future projects
- ✔ Sense of accomplishment completing the job yourself
Cons
- ✖ Time-consuming, especially for beginners
- ✖ Uneven joints or visible seams if you're not experienced
- ✖ Mistakes can lead to extra costs or needing professional help later
Professional Drywalling
Pros
- ✔ High-quality finish – ready for painting or decorating
- ✔ Faster and more efficient completion
- ✔ Expertise in handling complex wall structures
- ✔ May include cleanup and waste disposal
Cons
- ✖ Higher cost due to labour fees
- ✖ Less control over timeline and material selection
- ✖ Need to coordinate scheduling with the contractor
In summary, while it is possible to install plasterboard and drywalling yourself, the additional cost to have the work carried out professionally and efficiently is always recommended.
Common Drywalling Installation Problems
There is a myriad of potential problems that could arise when carrying out DIY drywalling. These problems could seriously strain your budget, especially if you have to take a few steps back.
Some of the problems that could arise are:
- Over-sanding – Being too aggressively can expose tape or damage the drywall. Use a light to detect any uneven spots.
- Overscrewing – Driving screws in too far may crack the panel surface and weaken the hold. Avoid overtightening.
- Tight Joints – Fitting drywall panels too closely can lead to cracking during temperature changes. Leave a 3mm gap between sheets.
- Visible Tape – If tape shows through the finish, you might be missing a coat. Apply three layers: taping, filler, and final.
These are all points that a tradesman experienced in drywalling will be fully aware of and shall carry on with a professional job.
Drywalling Without Plastering
You don’t actually need to plaster over drywall, though it can be a good idea as many new homes these days are not plastered internally at all! You often won't have a plaster skim applied on internal stud partition walls, or even to the inner faces of the exterior solid walls. Nowadays, it's common just to line with plasterboard or drywall. The problem with drywall is that without a skim coat of plaster or some sort of sealer, the surface is very absorbent and difficult to paint. Applying paint or wallpaper directly to drywall can be done but is not ideal.
A skim coat of plaster works well, but a cheaper option is to paint on a sealer product to seal the plasterboard before painting or wallpapering. Even to apply a skim coat or veneer of plaster, the drywall surface needs to be prepared by painting on a special adhesive compound.
Negatives of Drywalling Without Plastering
Installing drywall without a protective coat of plaster is cheaper and easier for property developers, but not so good for the homeowners when they want to decorate. Without a skim coat, drywall really soaks up paint and if wallpaper is applied, great care is required when removing it so as not to damage the drywall (some have started to scrape off what they thought was wallpaper only to find it was actually the surface layer of the drywall!).
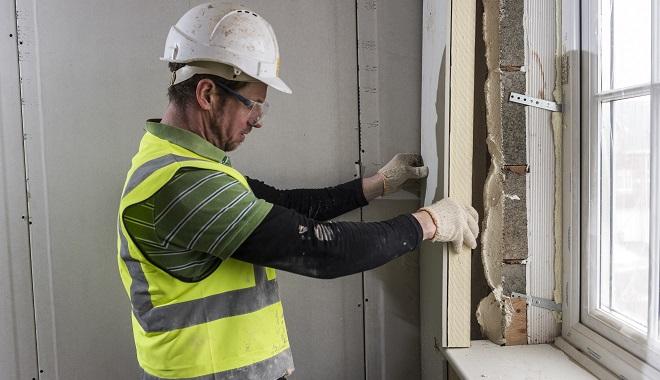
Installing Drywall Over Old Walls
One of the fastest and cheapest ways to cover damaged or cracked plaster walls is to simply hang drywall over them. You can cover old imperfections cheaply without too much additional work. Drywall is always the less expensive and labor intensive option when sorting out messy walls, but drywall on its own is not quite as effective as a sound barrier, though you can add a layer of insulation underneath before finishing.
Drywalling vs Wet Plastering
Although wet plastering offers strong durability and natural sound resistance, it does require skilled labour and (depending on the size of the room) can take several days to complete. Drywall, on the other hand, is a quick and cost-effective option, involving a much faster installation and less labour costs, making it the best choice for most home improvement projects.
However, to help you decide here's a list of some of the pros and cons involved.
Pros of Drywall
- ✔ Quick installation due to pre-rendered sheets
- ✔ Can often be completed in a few hours
- ✔ Lower labor costs compared to wet plastering
- ✔ Easier to finish with skim coat or sealant
Cons of Drywall
- ✖ Less durable and sound-resistant compared to wet plaster
- ✖ Requires additional insulation if soundproofing is needed
- ✖ May need more maintenance over time due to cracks
Pros of Wet Plaster
- ✔ Strong, durable, and ideal for painting or wallpapering
- ✔ Provides better sound resistance without extra work
- ✔ Traditional method used by many professional tradesmen
Cons of Wet Plaster
- ✖ Requires specialized skill and labour
- ✖ Longer installation time (can take several days)
- ✖ More expensive due to labour costs
- ✖ More complicated compared to drywall installation
Which is the best thermal insulator?
In terms of thermal insulation, there’s not a huge difference between the two materials, the composition of the wall is more important. Though its much easier to add additional insulation with drywall than it is with plaster! One final (small) advantage with plaster is the lack of draughts. A coat of wet plaster is effectively sealed, whereas drywall is cut to shape and may not cover the wall perfectly, especially around the skirting boards. The best of both worlds is of course insulated drywall with a professional wet plaster skim coat finish!